Bootstrap Radio Example
Intro
Sometimes the little things occur to be actually the very critical considering that the entire pic is certainly a all containing lots of tiny details polished and compiled for look and display as a well-oiled shiny machine. These types of strong words might possibly seem a little bit too much whenever it goes to create controls but assuming that you just consider about it for a little there is certainly only a single component permitting the website visitor to grab one among a several obtainable possibilities. And so if you are actually possessing some forms having this kind of solutions controls over your numerous web sites does this suggest they will all look similar? And most importantly-- would you go for that?
Luckily for us the most recent edition of the absolute most popular mobile phone friendly framework - Bootstrap 4 appears absolutely stacked with a bright brand new treatment to the responsive activity of the Bootstrap Radio Button regulations and what is bright new for this version-- the so called custom form controls-- a palette of predefined visual appeals you have the ability to simply get and use in order to bring in the so desired nowadays selection in the graphical presentations of basically uninteresting form parts. Therefore let's have a look precisely how the radio buttons are made to be specified and designated in Bootstrap 4. ( click this)
How you can utilize the Bootstrap radio button:
If you want to make a radio button we initially require a
<div>.form-check.form-check-inline.radio.radio-inline.disabledInside the
.form-check<label>.form-check-label<input>.form-check-inputtype = “radio”name = “ ~ same name for all the options ~ ”id = “ ~ unique ID ~ “value=” ~some value here ~ ”disabled<input>This is as well the area to determine in case you desire the radio control to primarily load like checked once the webpage gets loaded. Supposing that this is really what you are actually looking for-- as an alternative to
disabledchecked<input>checkedCheckbox and Bootstrap Radio Button situations
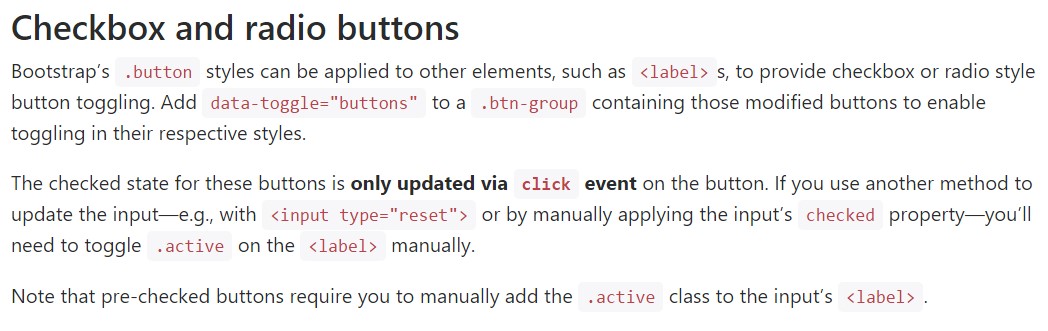
The checked state for these buttons is only updated via click event on the button.
Bear in mind that pre-checked buttons demand you to manually bring in the
.active<label>Checkbox

<div class="btn-group" data-toggle="buttons">
  <label class="btn btn-primary active">
    <input type="checkbox" checked autocomplete="off"> Checkbox 1 (pre-checked)
  </label>
  <label class="btn btn-primary">
    <input type="checkbox" autocomplete="off"> Checkbox 2
  </label>
  <label class="btn btn-primary">
    <input type="checkbox" autocomplete="off"> Checkbox 3
  </label>
</div>
Radio

<div class="btn-group" data-toggle="buttons">
  <label class="btn btn-primary active">
    <input type="radio" name="options" id="option1" autocomplete="off" checked> Radio 1 (preselected)
  </label>
  <label class="btn btn-primary">
    <input type="radio" name="options" id="option2" autocomplete="off"> Radio 2
  </label>
  <label class="btn btn-primary">
    <input type="radio" name="options" id="option3" autocomplete="off"> Radio 3
  </label>
</div>
Radio button option
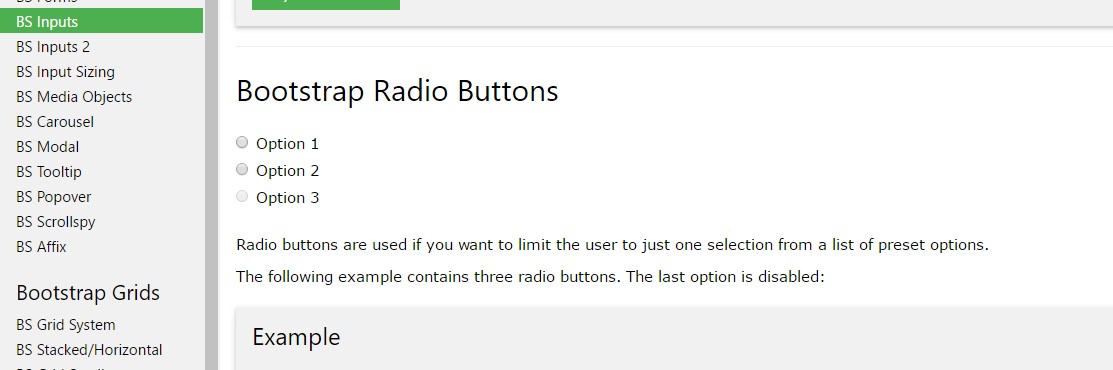
We are able to work with input elements of the radio style whenever we prefer the user to pick solely one of a set of opportunities. ( useful source)
Only one particular can certainly be selected whenever there is more than one feature of this particular type along with the exact same value inside the name attribute.

<div class="row">
  <div class="col-lg-6">
    <div class="input-group">
      <span class="input-group-addon">
        <input type="checkbox" aria-label="Checkbox for following text input">
      </span>
      <input type="text" class="form-control" aria-label="Text input with checkbox">
    </div>
  </div>
  <div class="col-lg-6">
    <div class="input-group">
      <span class="input-group-addon">
        <input type="radio" aria-label="Radio button for following text input">
      </span>
      <input type="text" class="form-control" aria-label="Text input with radio button">
    </div>
  </div>
</div>
Conclusions
Essentially this is the strategy the default radio switches get specified and carry on along in Bootstrap 4-- in a moment all you require are some solutions for the site visitors to choose from.
Inspect a number of youtube video short training about Bootstrap Radio Button:
Related topics:
Bootstrap buttons official information
Bootstrap Radio button - training
Checkbox radio buttons break entire toolbar styling
